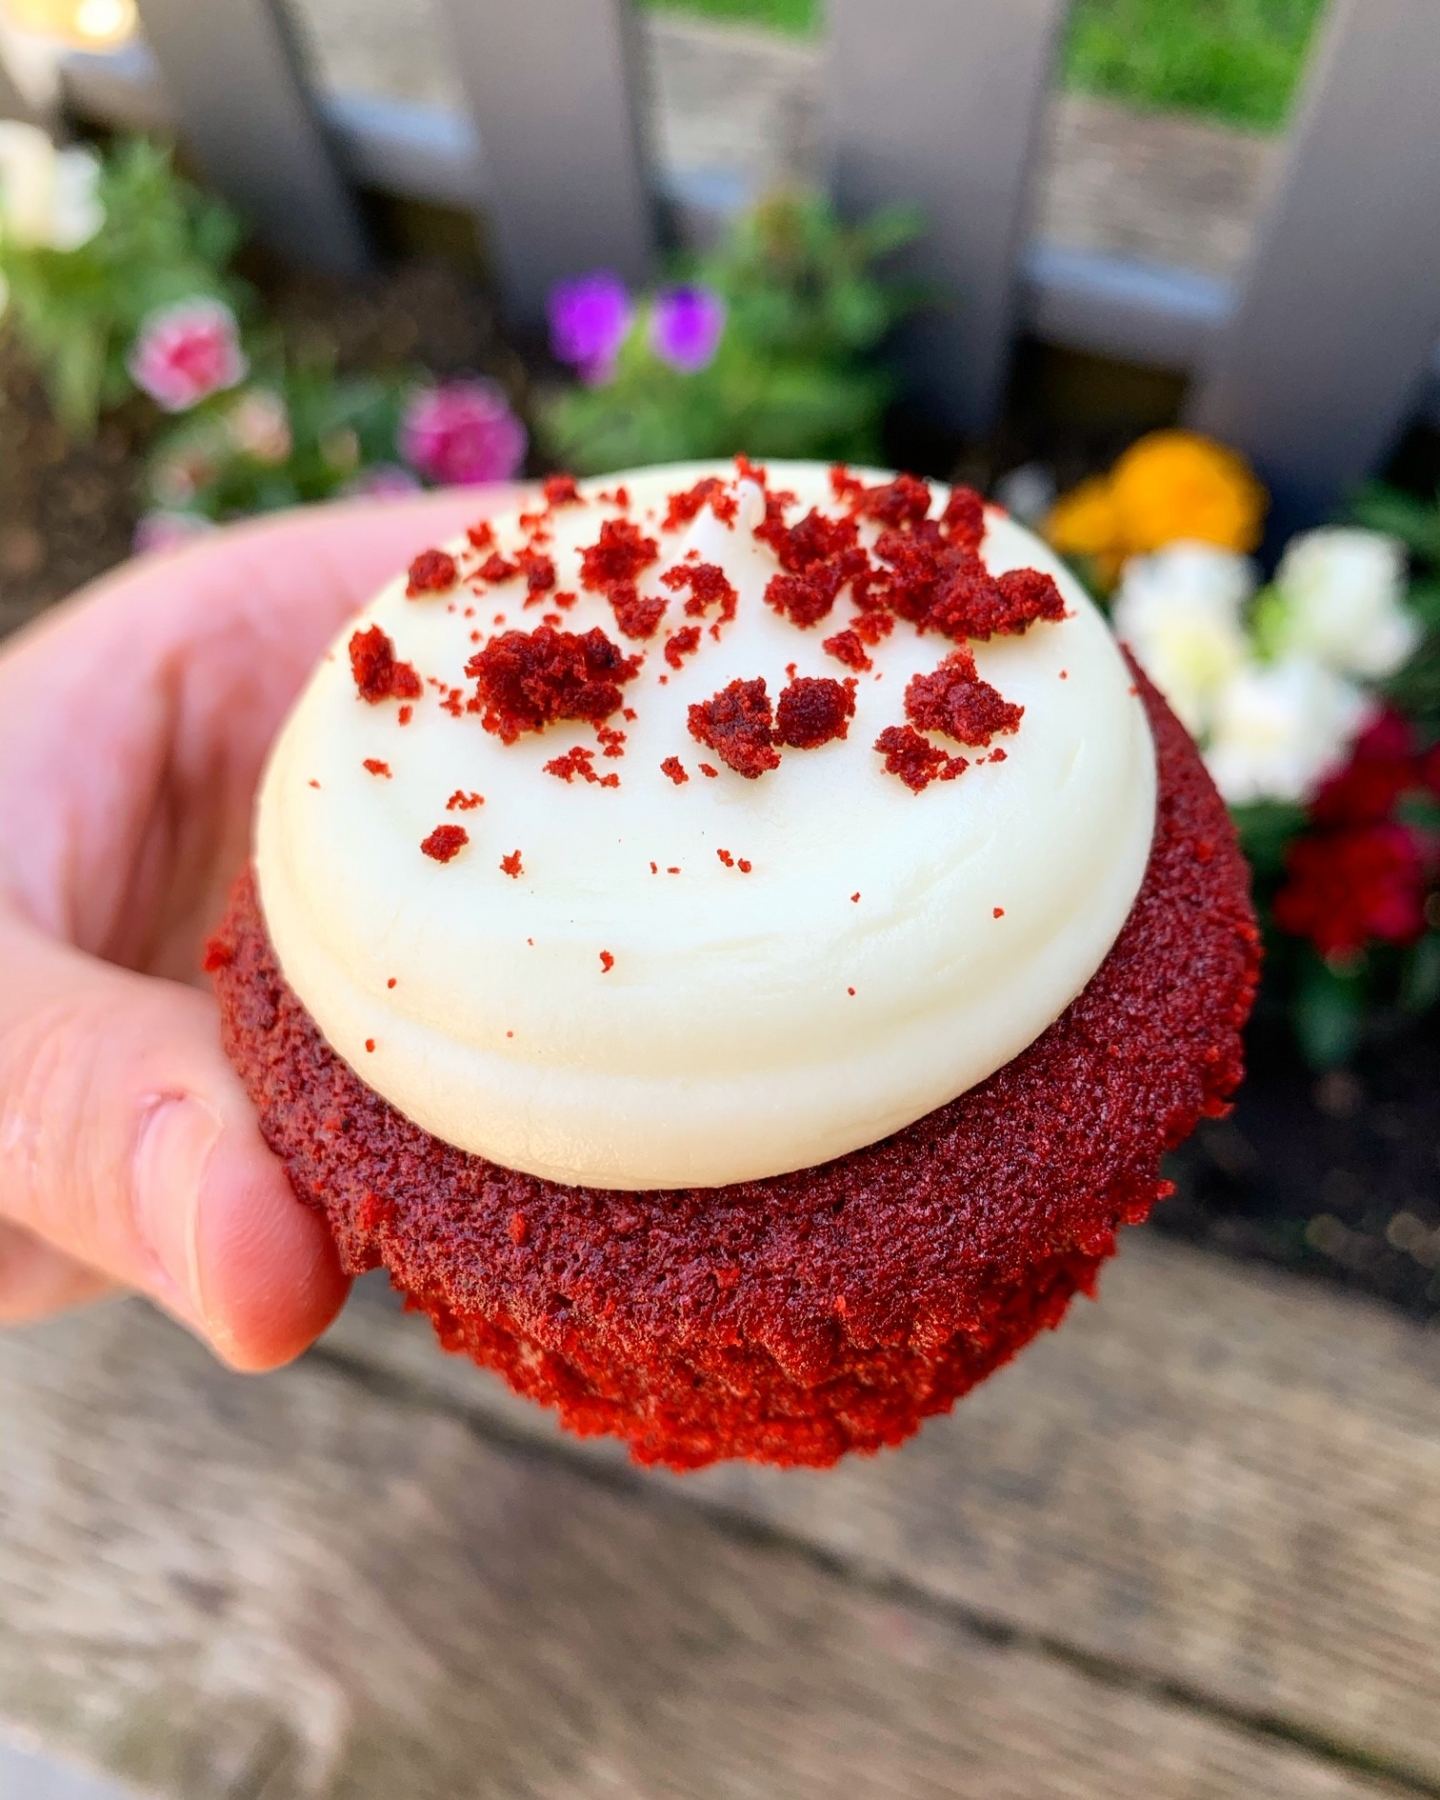
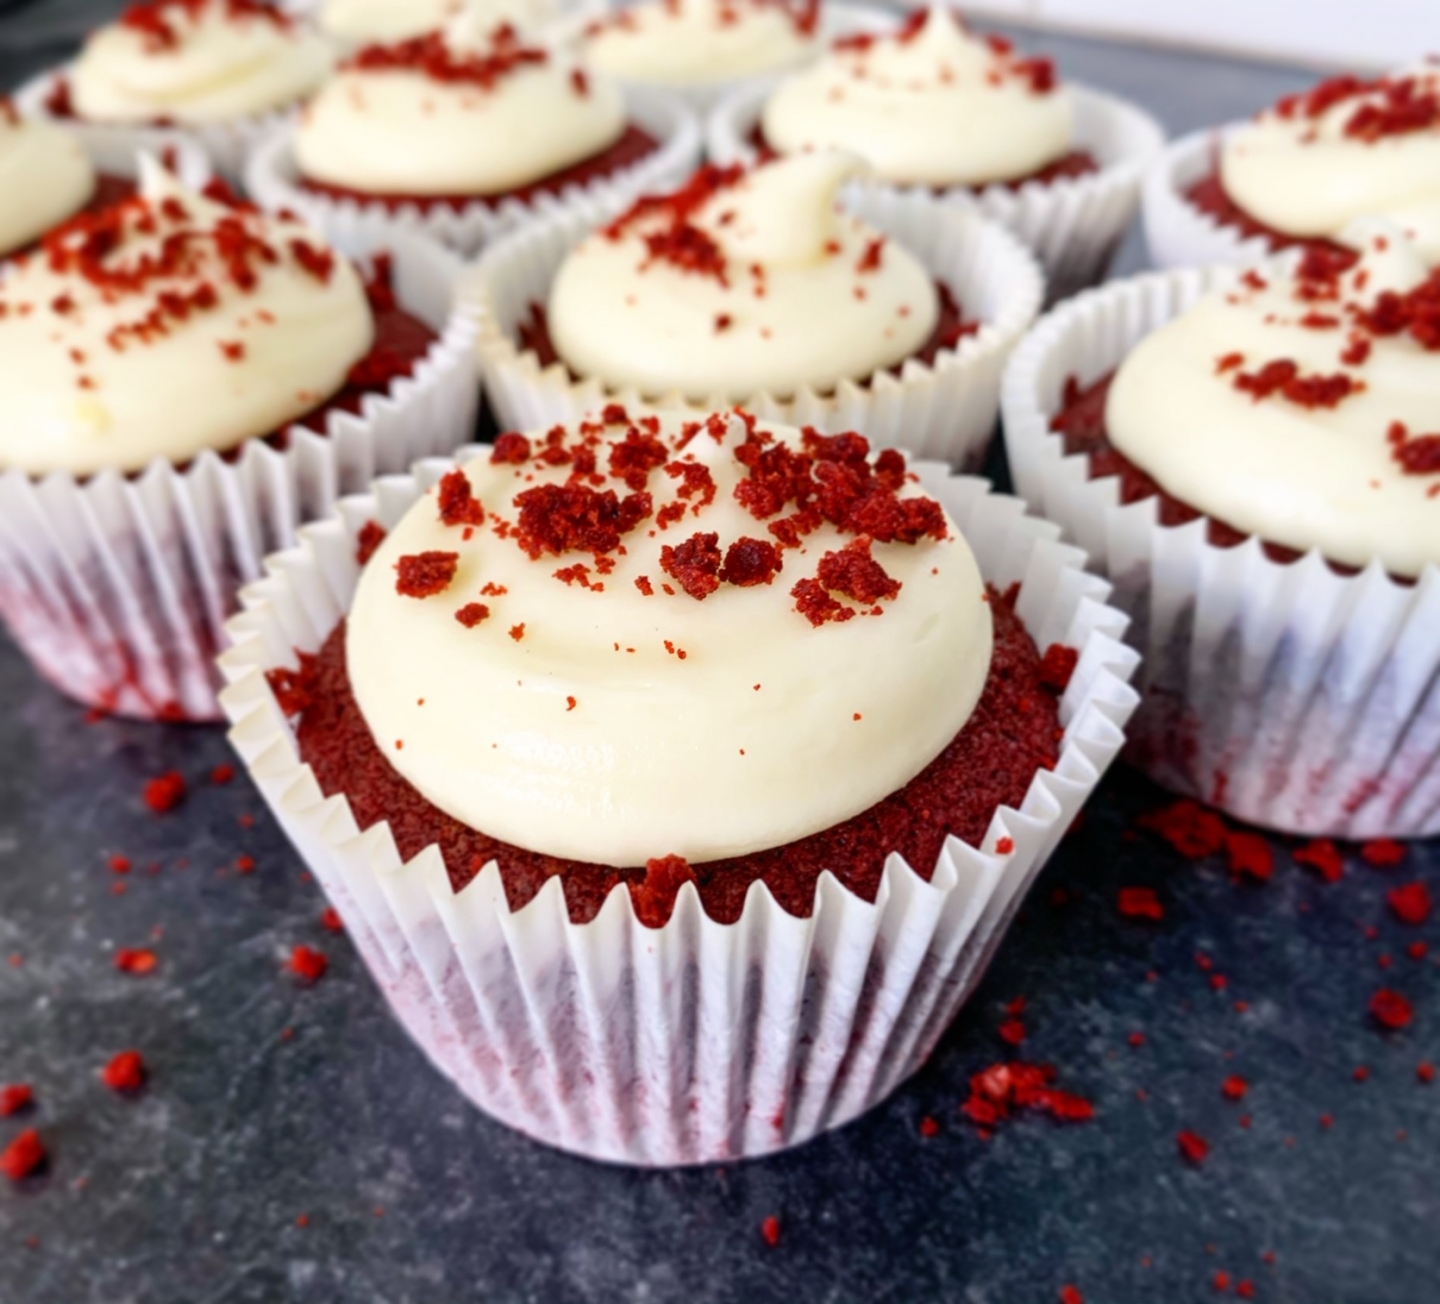
Last week I made these Red Velvet Cupcakes and they came out so much better than I’d anticipated. It was the first time baking with buttermilk (I made my own using lactose-free milk and lemon juice) and it gave a delicious moist texture, yet ever so slightly sour taste which is quintessential of a red velvet sponge!

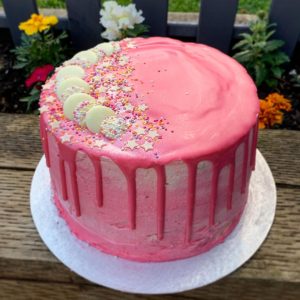
To ensure the cakes were a rich red colour, I used food colouring gels, linked here, as I wanted them to be a vibrant bake! I also used these gels in my recent birthday drip cake linked here. I used a standard muffin tin to bake the cupcakes and bought a new round piping nozzle (I managed to get these as a set from Sainsbury’s or you can get cheaper alternatives on Amazon). This bake is gluten free and lactose free (as long as you use dairy free butter or margarine).
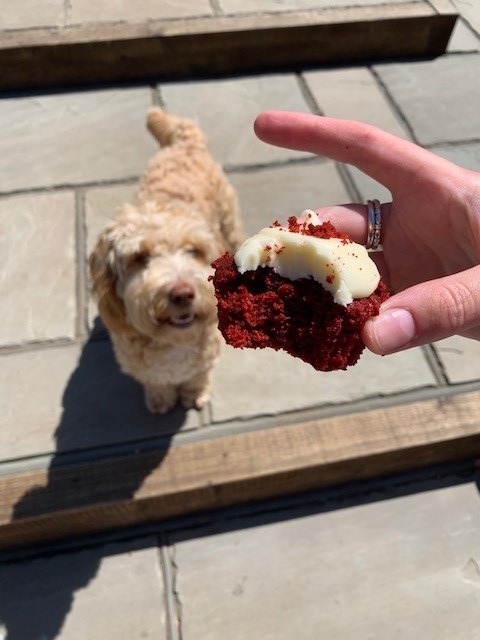
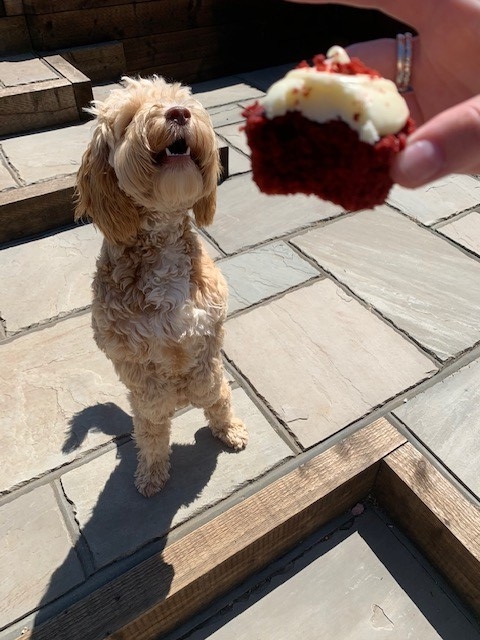
As always, Louis desperately wanted a bite of my cake (but of course definitely couldn’t have any as they contain cocoa powder and therefore toxic to dogs!) He always pulls the best faces in photos, so I thought I’d share a couple of outtakes…
The recipe below makes 12 cupcakes, takes around 30-45 minutes to make in total (with approximately 20 minutes baking time).
Red Velvet Cupcakes
Ingredients
- 70 g Butter
- 50 ml Vegetable oil
- 170 g Caster sugar
- 170 g Gluten free self-raising flour
- 2 tbsp Cocoa powder
- 1 Egg
- 100 ml Buttermilk (I made my own using 90ml milk and the juice of half a lemon)
- 1 tsp Red food colouring
For the cream cheese frosting:
- 100 g Butter
- 100 g Cream cheese (Lactose-free)
- 300 g Icing sugar
Instructions
- Preheat the oven to gas mark 4 or 180 degrees celsius.
- In a large bowl, beat together the butter, oil and sugar until it forms a smooth paste.
- Gradually fold in the buttermilk, egg, flour and cocoa powder until it forms a smooth cake mixture.
- Add the red food colouring until you have a rich red cake mixture.
- Line a muffin tin with 12 cupcake cases. Fill each case with the cake mixture until they are filled around halfway. Use the mixture evenly across all 12 cases. Bake for 15-20 minutes, or until a cake tester can be removed cleanly.
- Leave cupcakes to cool on a wire rack and prepare the cream cheese frosting.
- Mix together the cream cheese, butter and icing sugar until it has a thick consistency. Insert into a piping bag with a round nozzle.
- Once the cakes are cool, you need to take the crust off of the top of the cake. Remove a 1p sized circle from the centre using a sharp knife. This will be used as the crumbs to place on the top!
- Pipe the cream cheese onto the top of your cake (I just piped into the centre until if formed a neat blob!) and sprinkle the crumbs you have leftover (they may need rubbing between your thumb/finger to make them smaller). Place in the fridge to allow the cream cheese to set slightly and enjoy!
As always, let me know if you give my Red Velvet Cupcakes a try, I hope you’ll find them as enjoyable as we did! We ate all 12 within three days (and there’s only two of us!) They are so light, yet flavourful, I guarantee they will go down a treat!
If you’ve enjoyed this recipe, you may like to try some of my other cupcakes recipes, such as my Lemon and Elderflower Cupcakes, Coffee Cupcakes or my Carrot & Orange Cupcakes.
Happy baking,
Alice x



Hi, please what type of Red colouring do you use? 🙏🏾
I used Wilton food colouring gels, as long as it’s a red gel it should work.